
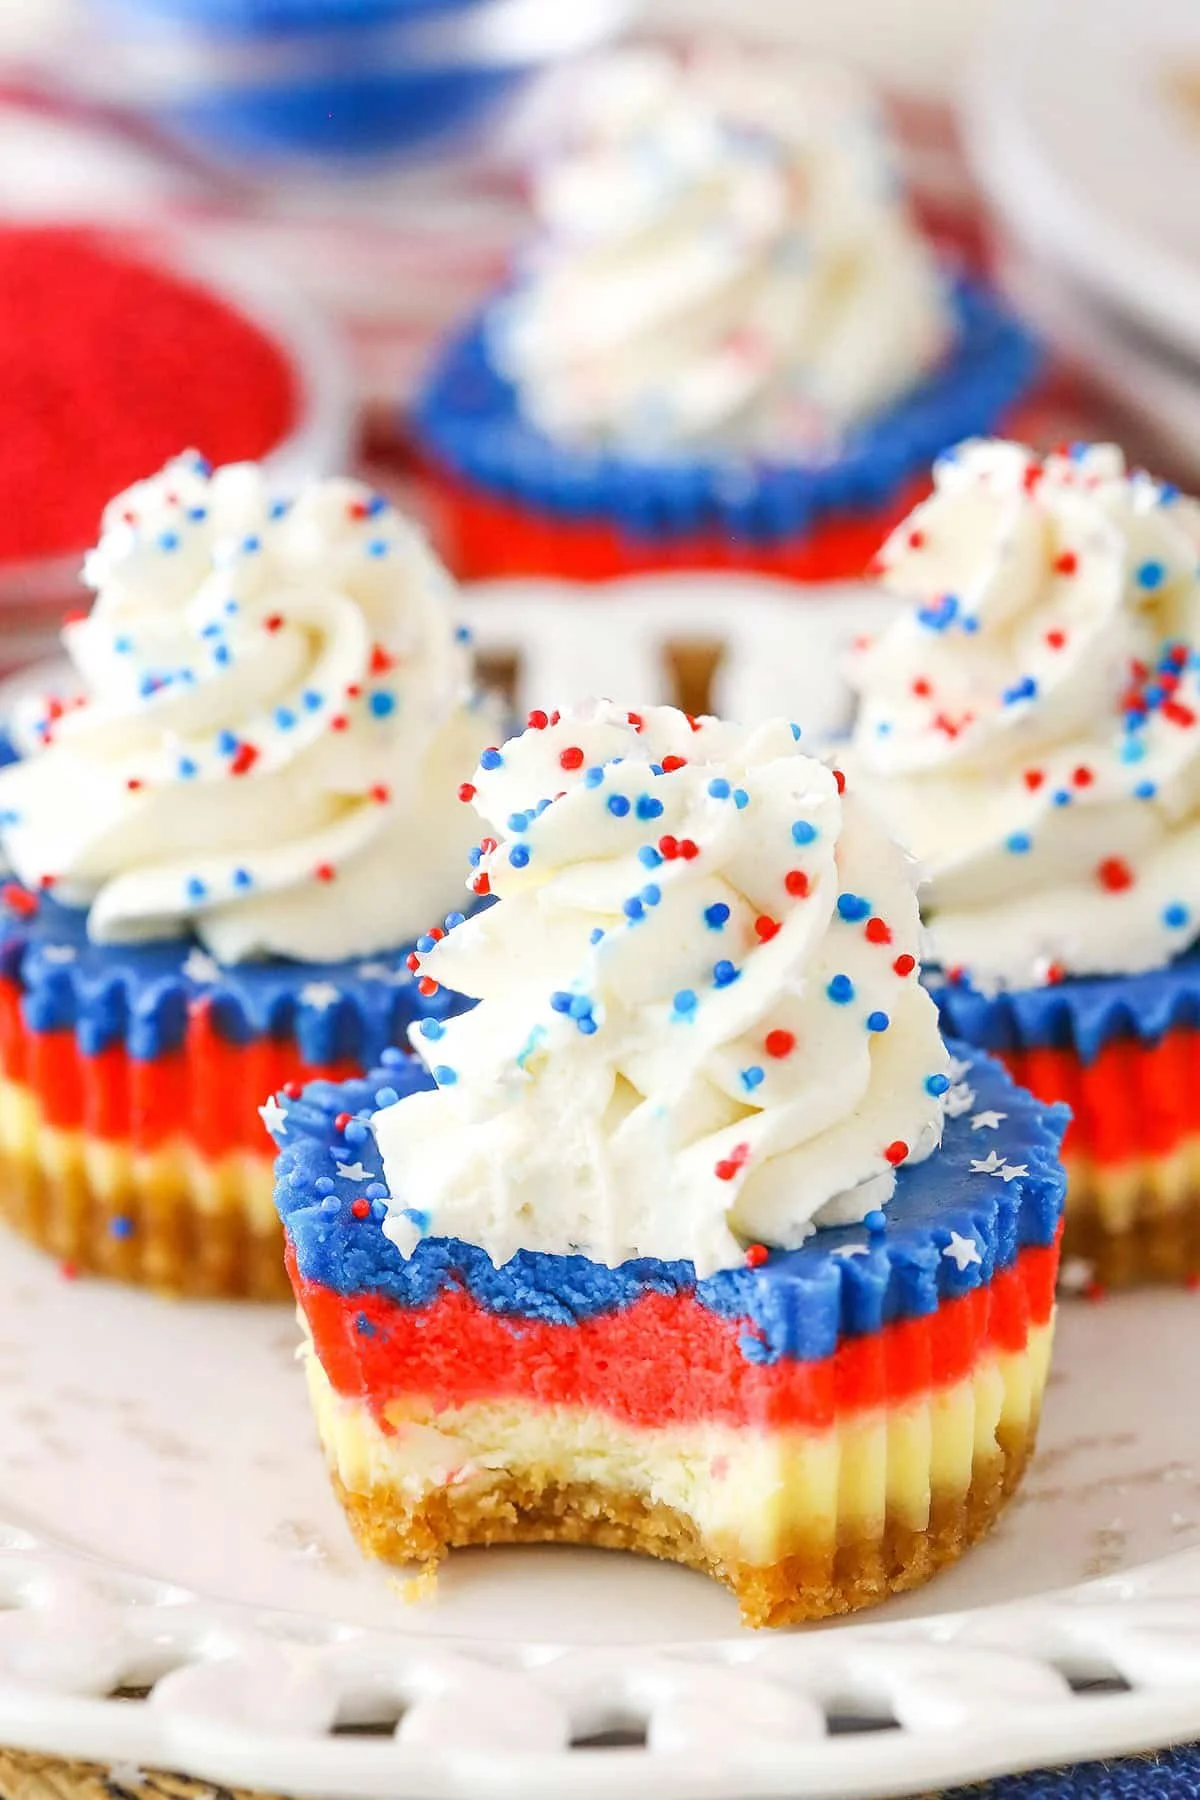
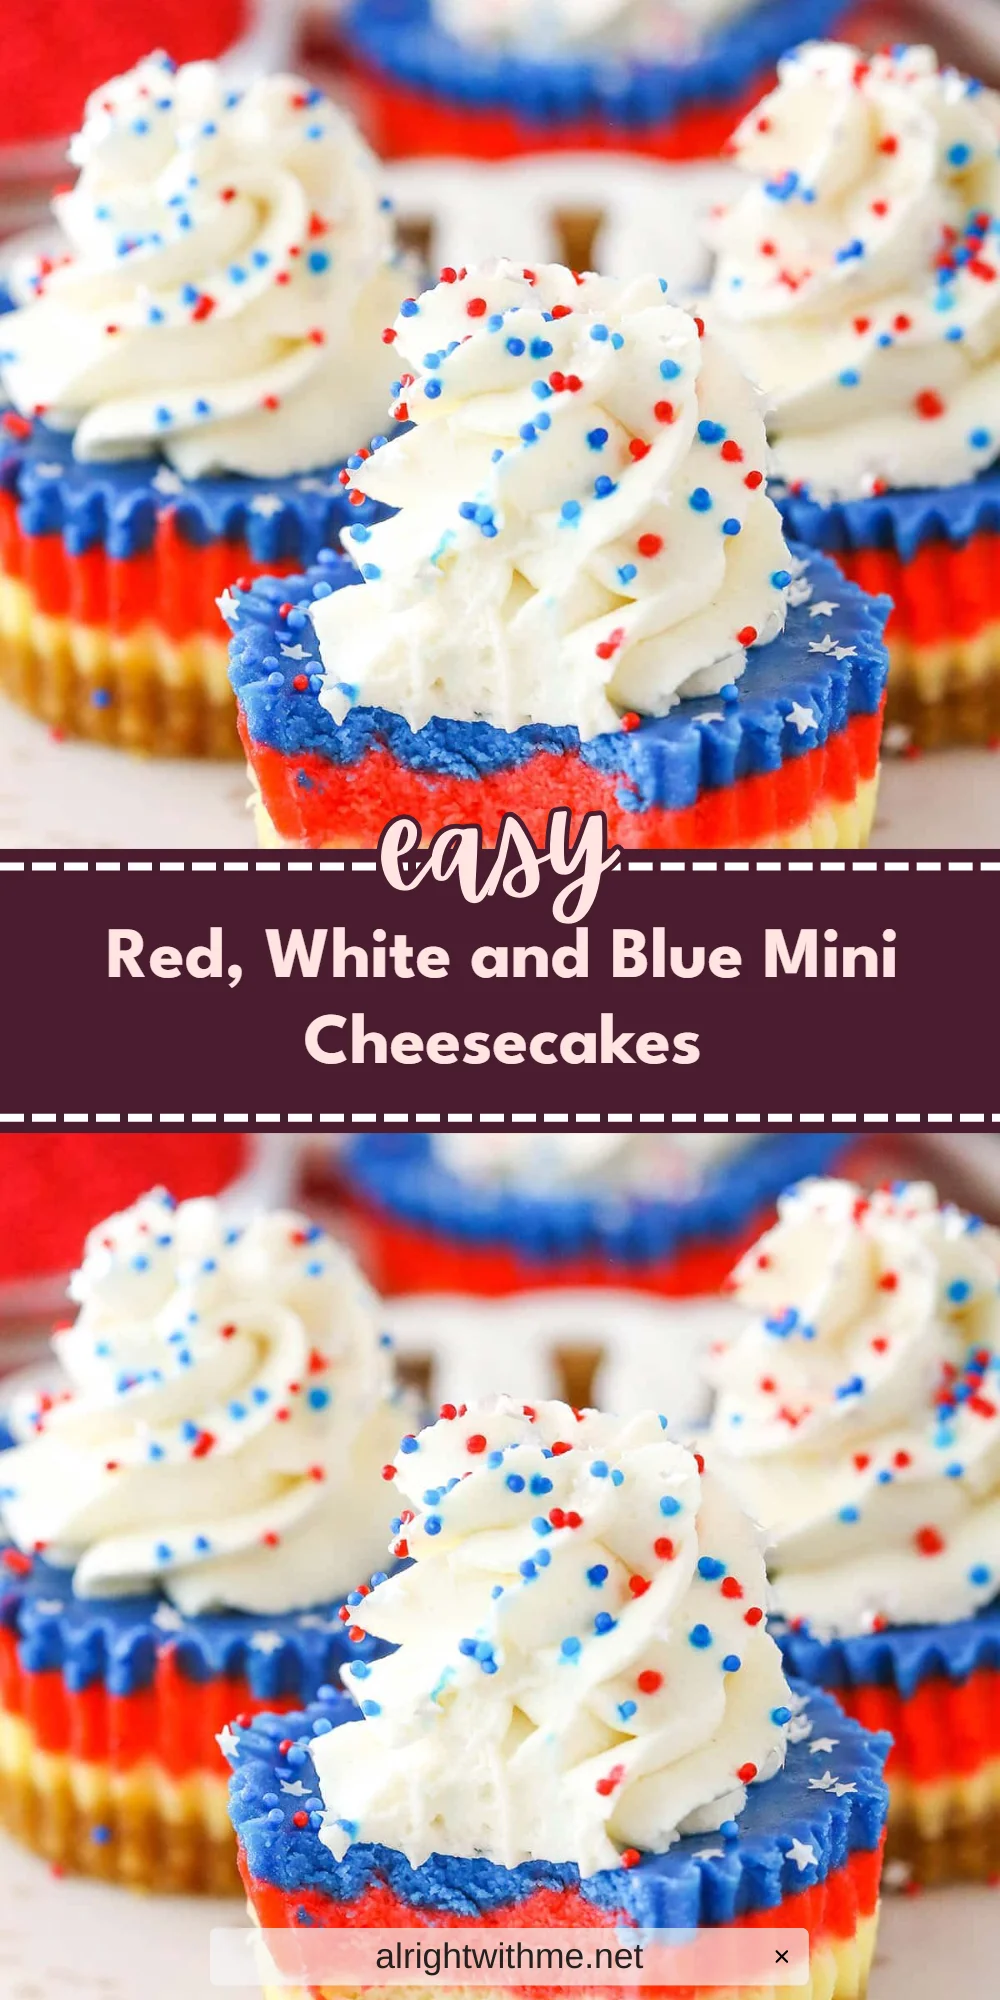
There’s something irresistibly charming about mini cheesecakes, especially when they’re adorned in vibrant red, white, and blue hues. These Red, White and Blue Mini Cheesecakes not only look festive, but they also burst with creamy flavor and texture. They take about 2 hours to prepare and chill, and their layered presentation provides a delightful surprise in every bite.
These mini cheesecakes are perfect for summer gatherings, barbecues, or festive holiday celebrations. You can make them a day in advance, allowing the flavors to meld beautifully while saving time on the big day.
Why You’ll Love This Recipe
- The creamy filling is balanced with a buttery, crunchy crust.
- The vibrant colors create a stunning visual presentation.
- Each bite delivers a delightful blend of flavors.
- They are easy to transport for gatherings or parties.
What You’ll Need
Gather the following ingredients to create these delightful mini cheesecakes.
For the Crust
- 1 cup (134g) vanilla wafer cookie crumbs
- 2 tbsp (26g) sugar
- 4 tbsp (56g) butter, melted
For the Filling
- 12 ounces (339g) cream cheese, room temperature
- 1/2 cup (104g) sugar
- 3 tbsp (24g) flour
- 1/2 cup (115g) sour cream
- 1 1/2 tsp vanilla extract
- 2 eggs
- Blue gel icing color
- Red gel icing color
For the Whipped Cream Topping
- 1/2 cup (120ml) heavy whipping cream, cold
- 5 tbsp (36g) powdered sugar
- 1/2 tsp vanilla extract
- Sprinkles
Note: Ensure your cream cheese is at room temperature for easier mixing.
Substitutions & Swaps
- Vanilla wafer crumbs → Graham cracker crumbs
- Sour cream → Greek yogurt
- Heavy whipping cream → Whipping cream
How to Make It
Prepare these mini cheesecakes with the following steps.
1. Preheat
Preheat oven to 325°F (162°C) and line a cupcake pan with cupcake liners.
2. Combine
Combine the vanilla wafer cookie crumbs, sugar, and melted butter in a mixing bowl. Divide the mixture between the cupcake liners (about 2 tablespoons per cup) and press into the bottoms.
3. Bake
Bake the crusts for 5 minutes. Remove from the oven and allow to cool while making the filling.
4. Mix
Reduce oven temperature to 300°F (148°C). In a large bowl, mix the cream cheese, sugar, and flour on low speed until combined, scraping down the sides as needed.
5. Add
Add sour cream and vanilla extract to the mixture. Beat on low speed until well combined.
6. Incorporate
Incorporate the eggs one at a time, beating slowly and scraping the bowl’s sides after each addition to ensure even mixing.
7. Color
Divide the batter evenly into three bowls. Keep one bowl plain, color one red, and the other blue using gel icing colors.
8. Layer
Layer the colored batter into the crusts, starting with a tablespoon of the white batter in each cup, followed by a tablespoon of red, and finishing with a tablespoon of blue. Fill cups until mostly full.
9. Bake Again
Bake the cheesecakes for 18-20 minutes, then turn off the oven and leave the door closed for an additional 10 minutes.
10. Cool
Crack the oven door and allow the cheesecakes to cool for 15-20 minutes. Then, place them in the fridge to finish cooling completely.
11. Remove
Once cooled, remove the cheesecakes from the pan.
12. Whip
To make the whipped cream topping, add the cold heavy whipping cream, powdered sugar, and vanilla extract to a large mixer bowl. Whip on high speed until stiff peaks form.
13. Pipe
Pipe the whipped cream onto the tops of each cheesecake and add sprinkles for decoration.
14. Refrigerate
Refrigerate the cheesecakes in an airtight container until ready to serve. They are best enjoyed within 2-3 days.
How to Store It
Fridge: Store for up to 3 days in an airtight container.
Freezer: No, the texture will change.
Reheat: Not necessary; serve chilled.
Tips for Best Results
- Beat the cream cheese mixture gently to avoid cracks in the cheesecakes.
- Color the batter just enough to achieve vibrant layers without over-mixing.
- Ensure the cheesecakes are completely cool before topping with whipped cream to prevent melting.
Serving Suggestions
- Serve at summer barbecues or picnics.
- Pair with fresh berries for added flavor.
- Present as a colorful dessert for holiday celebrations.
Leave a Comment