
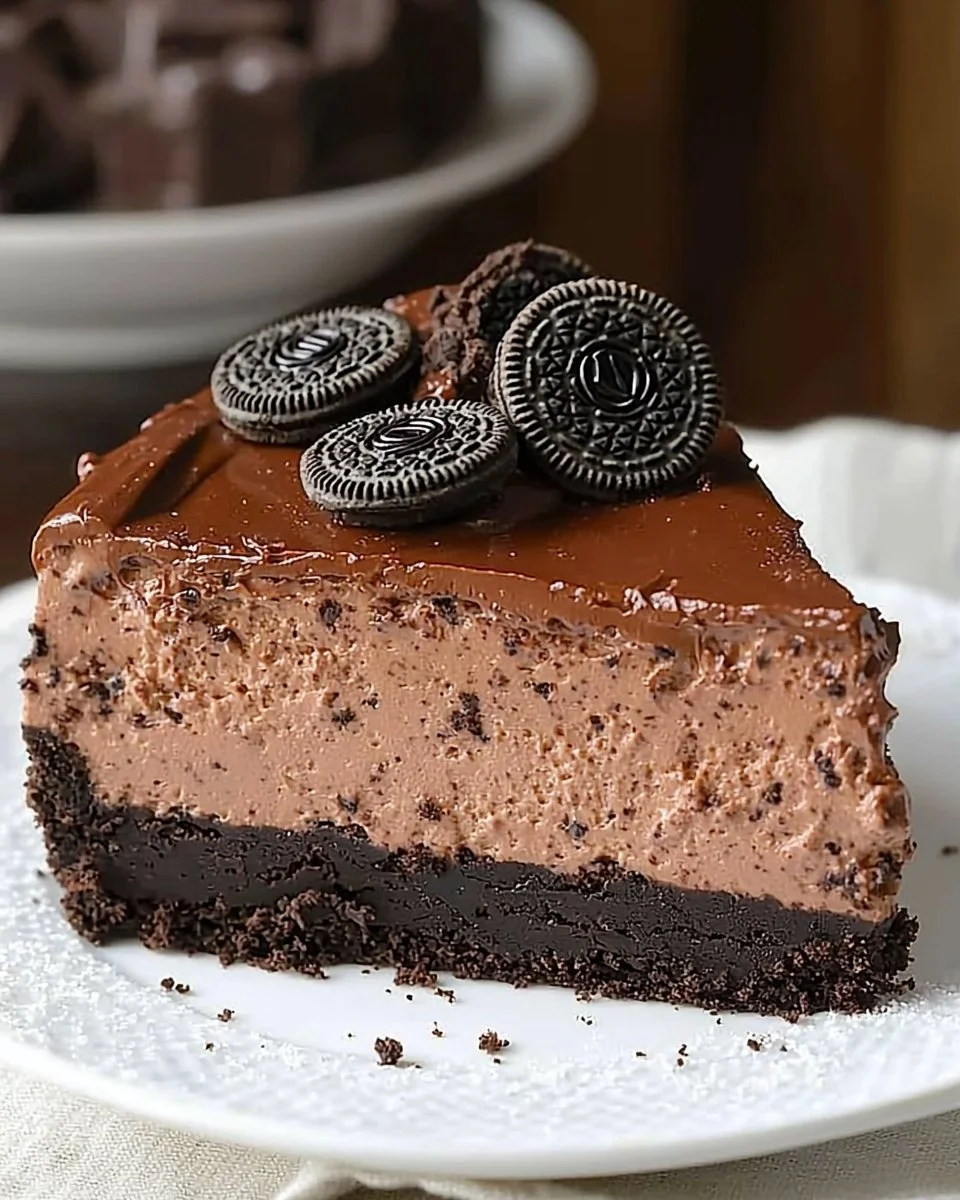
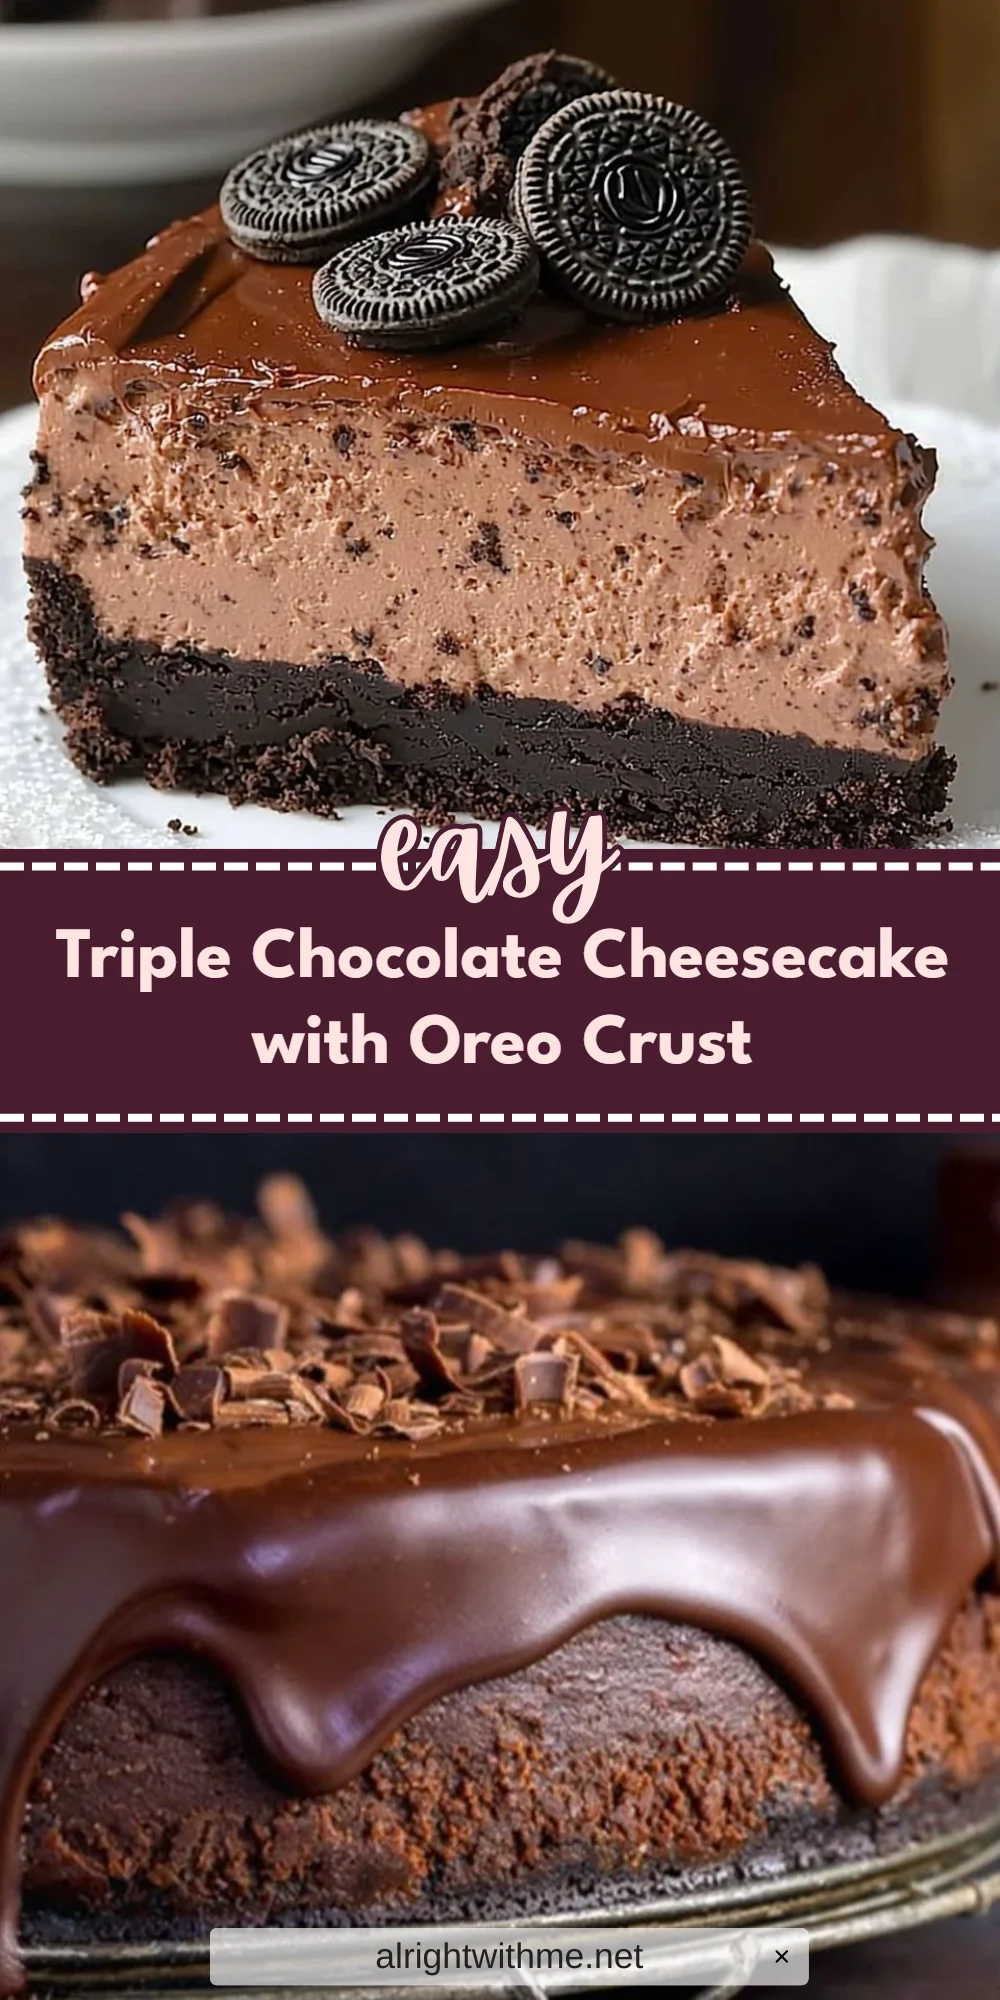
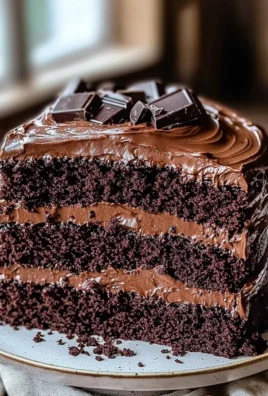
The first bite of this luxurious cheesecake reveals a luscious, velvety texture that melts in your mouth, with a rich chocolate flavor that satisfies even the deepest cravings. This Triple Chocolate Cheesecake with Oreo Crust takes approximately 90 minutes to prepare, followed by hours of chilling time, and works beautifully because it combines the classic flavor of chocolate with the creamy decadence of cheesecake.
This recipe is perfect for chocolate lovers and can be made for special occasions, such as birthdays, anniversaries, or holiday gatherings. Make it up to three days in advance and store it in the refrigerator so you can enjoy hassle-free entertaining.
Why You’ll Love This Recipe
- The Oreo crust adds a crunchy texture that contrasts beautifully with the creamy cheesecake.
- Each layer features rich chocolate flavors, from the filling to the decadent topping.
- It’s a show-stopping dessert that will impress guests at any gathering.
- The recipe can be made ahead, allowing for stress-free serving.
What You’ll Need
Here are the ingredients you’ll need to create this indulgent cheesecake.
For the Crust
- 24 Oreo cookies, finely crushed
- 1/4 cup unsalted butter, melted
For the Filling
- 2 lbs. cream cheese, room temperature
- 1 ½ cups powdered sugar
- 3 tablespoons cocoa powder
- 4 eggs, room temperature
- 10 ounces bittersweet chocolate, chopped
For the Topping
- 3/4 cup heavy cream
- 6 oz. bittersweet chocolate, finely chopped
- 1 tablespoon granulated sugar
Use dairy-free cream cheese for a vegan option.
Substitutions & Swaps
- Use a gluten-free cookie for a gluten-free version.
- Swap bittersweet chocolate for semi-sweet if preferred.
- Use regular sugar instead of powdered sugar in the filling.
- Substitute cocoa powder with a chocolate-flavored protein powder.
How to Make It
Follow these steps to create your delicious cheesecake.
Preheat and Prepare
Preheat the oven to 350 degrees F, grease a 9-inch springform pan, and set aside.
Make the Crust
Finely crush the cookies in a food processor, add melted butter, and blend until all the mixture is moistened. Press the crumb mixture onto the bottom of the prepared pan and bake for 6 minutes. Remove from the oven and set on a wire rack to cool while making the filling.
Melt Chocolate
Melt 10 ounces of bittersweet chocolate and set aside to cool.
Mix Cream Cheese
Mix cream cheese and powdered sugar until smooth, then mix in cocoa powder. Add the eggs one at a time, mixing on low speed and ensuring not to overbeat.
Combine Chocolate
Add the melted chocolate and mix on low speed to combine. Pour the filling over the crust and smooth the top.
Bake Cheesecake
Bake the cheesecake until the center is set and the top looks dry, which should take about 1 hour to 1 hour and 10 minutes.
Cool and Refrigerate
Cool on a wire rack for 5 minutes, then run a thin knife around the sides of the pan. Set the cake in the refrigerator uncovered for at least 8 hours, or ideally overnight.
Prepare Topping
In a medium saucepan, stir together the heavy cream, chocolate, and sugar on low heat until the chocolate is completely melted and the mixture is smooth. Cool and pour over the cheesecake.
Final Refrigeration
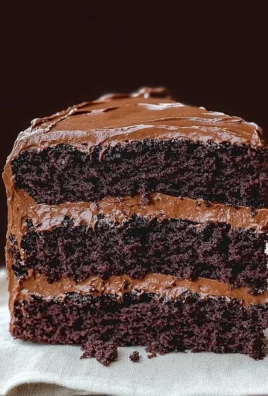
When the topping is set and cooled, run a thin knife around the sides and remove the springform pan sides. This cheesecake can be prepared 2-3 days in advance and should be stored covered in the refrigerator. Garnish with chocolate curls if desired.
How to Store It
Fridge: Store for up to 3 days in an airtight container.
Freezer: No, it affects the cheesecake texture.
Reheat: Serve chilled; no reheating needed.
Tips for Best Results
- Allow cream cheese to reach room temperature for easier mixing.
- Melt chocolate gently to avoid burning.
- Ensure the cheesecake is fully cooled before adding the topping.
- Use a thin knife to run around the pan for easier removal.
Serving Suggestions
- Pair the cheesecake with fresh berries for a burst of freshness.
- Serve with a dollop of whipped cream for added richness.
- Enjoy with a cup of coffee for an indulgent after-dinner treat.
Leave a Comment